Choosing a Podcast Video Recording Studio

A great guest can tell a story that deserves to travel far beyond the room. Yet a podcast video recording studio has to do more than place cameras in front of two chairs. It needs to make people comfortable enough to speak freely, capture every word cleanly, and give the finished episode a visual identity people recognise while scrolling.

For podcasters, presenters, brands and musicians with something to say, the best setup is rarely the one with the longest equipment list. It is the one that removes friction. Your guest arrives, settles in, hears themselves clearly, and the conversation starts to flow. Meanwhile, the technical work is handled properly in the background.

What a Podcast Video Recording Studio Should Deliver

Podcasting is an intimate format, even when it has a large audience. Small failures feel surprisingly big: a lavalier rubbing against clothing, a harsh light making a guest self-conscious, an eyeline that feels slightly wrong, or a camera angle that gives the edit nowhere to go. Good production solves these details before the first question is asked.

Start with sound. Viewers will tolerate a slightly imperfect picture for longer than they will tolerate echo, hum or inconsistent speech levels. A purpose-built recording space should offer controlled acoustics, quality microphones suited to spoken voice, pop protection, comfortable monitoring and multitrack recording. Multitrack matters because each speaker can be adjusted independently afterwards. If one guest laughs loudly or speaks quietly, an editor has room to balance the conversation without damaging the whole recording.

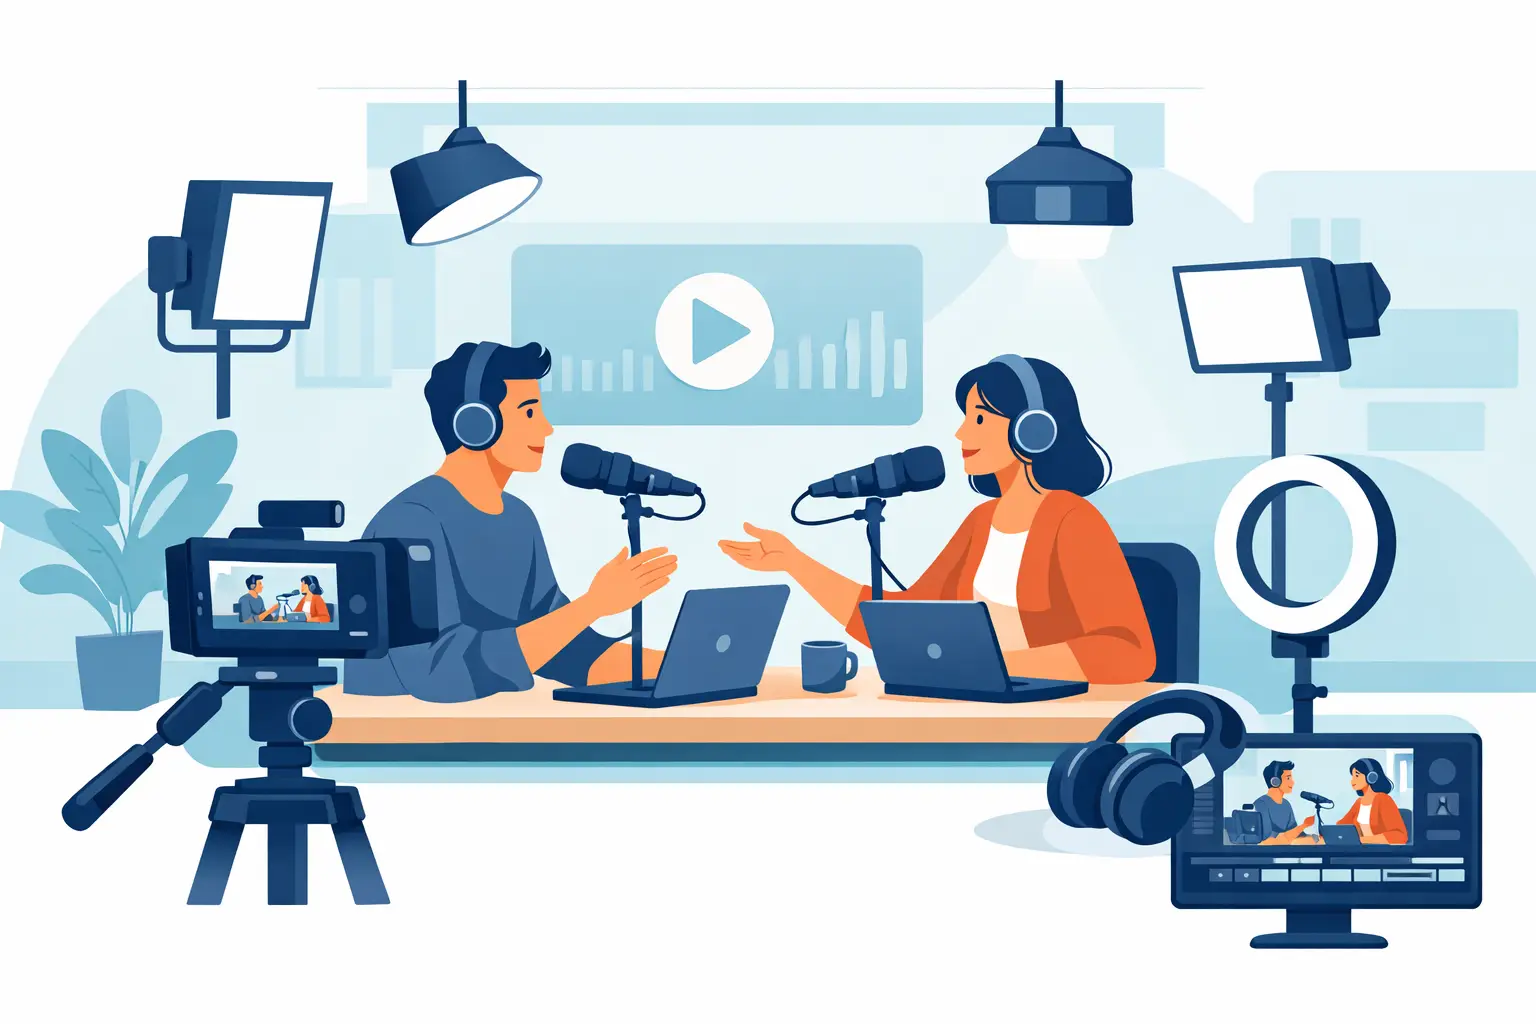
Picture is equally about consistency. A multi-camera setup normally gives an editor a wide two-shot, individual presenter and guest angles, and perhaps a tighter detail frame. This creates rhythm without turning an honest conversation into a frantic montage. The lighting should be shaped for faces, with enough depth in the background to avoid the flat look of a meeting room or kitchen wall.

The room itself has a role to play. A clinical set can suit a formal corporate interview, while a more relaxed studio may help artists, founders and first-time guests share a more natural side of themselves. There is no universal answer. The useful question is whether the setting supports the tone of your show and gives you a look you can return to episode after episode.

Plan the Conversation Before You Book

A studio session works best when it is treated as a production, not merely a room hire. Before booking, decide what the episode needs to achieve. Is it a long-form interview, a panel conversation, a remote guest discussion, a product-led brand piece, or an audio-first podcast that also needs social clips? Each format changes the practical requirements.

A single presenter speaking to camera may need a compact set, clear autocue options and a clean background. A two-person show benefits from enough space for natural seating and camera separation. A panel needs careful microphone choice, more camera coverage and enough time to test sightlines. For music-led podcasts, live performance capture may be part of the brief, which calls for a studio with the room, audio channels and visual flexibility to move beyond seated conversation.

It also helps to think about duration honestly. A 60-minute published episode is not always a 60-minute booking. You need arrival time, microphone fitting, camera and audio checks, a little room for nerves, recording time and a final check before everyone leaves. Guests who are new to being filmed often relax after the first ten minutes. Building that settling-in period into the session is usually worth more than rushing into the first question.

Write a short production brief in advance. Include the show name, episode objective, guest names and pronunciation, preferred framing, any sponsor mentions, key questions, release deadline and the final formats you need. A clear brief lets the studio engineer prepare sensibly and keeps creative decisions from slowing down the session.

Cameras Should Serve the Edit, Not Distract From It

More cameras are not automatically better. Three well-positioned cameras can often produce a stronger podcast than six cameras fighting for attention. The goal is coverage that gives the edit purpose: a wide shot for context, close-ups for emotion and reaction shots for listening.

Camera placement should preserve natural eyelines. If presenter and guest are looking too far away from one another, the exchange can appear detached. If the cameras sit too close to the conversation, people become aware of them. An experienced production team will find a balance between flattering angles, practical access and a relaxed atmosphere.

Ask how the studio records its camera feeds. Individual camera files offer more flexibility in post-production than one pre-cut programme recording, especially if you want short clips, a polished full episode and alternative edits from the same conversation. There is a trade-off: separate feeds create more editing work and can add to the post-production budget. For a quick turnaround show, a live-switched recording may be the right choice. For a flagship interview intended to keep working for months, capturing clean individual angles is usually the wiser investment.

Set design deserves the same thought. A background should add character without dating the episode or pulling focus from the speaker. Plants, artwork, practical lamps, textured surfaces or a view that genuinely belongs to the location can all help. Green screen is useful when a branded or changeable setting is essential, but it needs careful lighting and a clear reason to exist. A convincing real environment often feels warmer for a conversation-led show.

Sound Is Where Credibility Is Won

People judge a show quickly. Clear, present speech makes a podcast feel considered before the listener has formed an opinion about the content. Poor audio suggests the opposite, however good the guest may be.

A professional session should account for microphone technique without making guests feel policed. The right microphone and mounting method depend on the voice, the look of the show, the number of speakers and the amount of movement expected. Visible broadcast microphones can become part of a podcast’s character. Discreet lapel microphones can suit presenter-led video or a more open visual frame. Neither is inherently superior.

Room treatment is the quieter part of the process, but it is vital. Hard surfaces, low ceilings and nearby traffic can give speech a harsh, distant quality. Good acoustic control reduces reflections and allows the voice to sit close and confident in the mix. It is particularly valuable for live broadcasts, where there is less opportunity to repair problems afterwards.

Ask whether the session includes an engineer who is listening throughout. For a simple, repeatable in-house format, self-operated equipment may suit a confident team. For interviews with high-value guests, multiple contributors, a remote caller or live distribution, an engineer gives you freedom to concentrate on the conversation. That is not a luxury if it means the host can listen properly rather than watching audio meters.

Build a Workflow for the Full Episode and the Clips

The recording is only the middle of the job. A useful podcast video recording studio should help you consider what happens once the guest has gone home. You may need an audio master for podcast platforms, a full video episode, captioned vertical clips, a teaser, stills and a version with sponsor graphics or lower thirds.

Planning these outputs at the start changes how you shoot. Vertical clips benefit from tighter compositions and enough picture quality to crop confidently. Captions need clean dialogue and an edit that leaves breathing space around important points. Sponsor reads may require a separate clean take. If a guest makes a claim that needs checking, the editor needs clear notes and an agreed approval process before publication.

Editing style should match the show. Some podcasts need only thoughtful trims, audio balancing, colour correction and simple titles. Others call for graphics, cutaways, archival material, music, animated branding and tighter pacing. There is a cost and a creative trade-off here. Highly produced edits can bring energy, but a heavily interrupted conversation may lose the trust that made people press play. Let the format lead.

At Yougig, the advantage of bringing recording, multi-camera capture, editing and livestream capability into one waterfront production space is continuity. The people setting the microphones understand how the footage will be finished, and the room can move between intimate interview, performance and presenter-led formats without losing its calm, practical feel.

Choose a Studio That Helps Guests Feel at Ease

Technical standards matter, but so does the welcome. A guest who has travelled from Brighton, London or elsewhere across Sussex may arrive tired, cautious or keen to get through the experience quickly. Clear joining details, somewhere comfortable to wait, time to settle, straightforward guidance and a team that knows when not to interrupt all affect the recording.

This is especially true for artists discussing personal work, founders explaining an idea publicly for the first time, or presenters building confidence on camera. The best sessions do not feel like a test of who understands production jargon. They feel prepared, well-held and enjoyable.

Before committing, ask how the studio handles setup, whether an engineer is included, what formats will be delivered, who owns and stores the files, and how revisions are managed. Those answers tell you far more than a glamorous camera photograph. You are looking for a partner who can protect the technical basics while leaving room for the unexpected moment that makes an episode worth sharing.

Bring a clear idea, allow enough time, and choose a room where your guests can forget the cameras are there. That is when a podcast stops looking like content and starts feeling like a real conversation people want to pass on.
Green Screen Filming for Presenters That Works

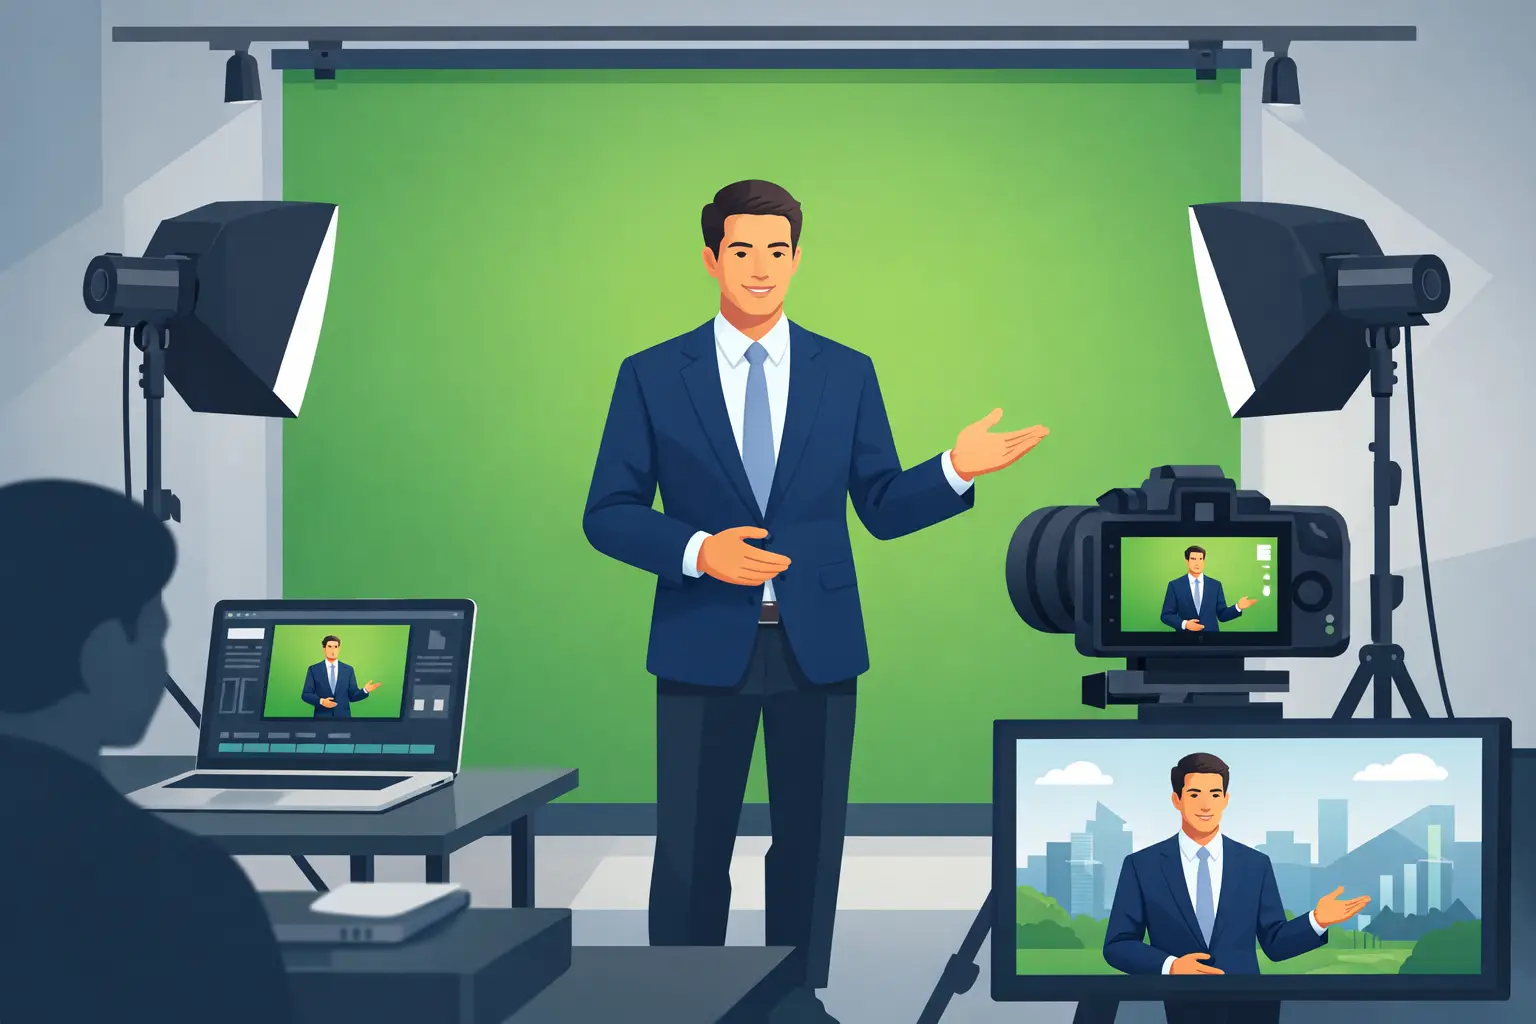
A presenter standing in front of a green screen is not the finished picture. They are carrying the picture. If the background, eyeline, lighting and delivery do not agree, even a sharp 4K image can feel like a cut-out pasted into a slide deck. Green screen filming for presenters works when the technical setup gives the person on camera enough certainty to speak naturally, move with purpose and connect with the viewer.

That matters whether you are recording an internal company message, a course, a product film, a social series or a broadcast-style interview. The green screen creates options in post-production, but the presenter still needs a believable place to stand.

Green screen filming for presenters starts before the camera rolls

The best results are decided at the planning stage. Before choosing a virtual set, ask what the presenter needs to communicate and where the finished video will appear. A short vertical clip for social channels has different framing, graphics and pace from a widescreen training video or a livestream segment.

Think about the intended background early. Will it be a branded graphic, a newsroom-style environment, a product demonstration, a location plate or moving footage? This affects wardrobe, camera position and how much room the presenter needs. A background with strong perspective, for example, needs a camera angle that feels plausible. If the virtual room appears to look down from eye level, filming the presenter from a very low angle will immediately look wrong.

It also helps to decide how much of the body will be in shot. A chest-up piece to camera is efficient and gives the presenter a contained space to work in. A wider frame allows gestures, walking and interaction with on-screen graphics, but it needs more screen coverage, more careful lighting and stronger awareness of where graphics will sit.

At Yougig, the intimate green-screen studio is designed for this kind of presenter-led work: a focused space where the production can stay calm while camera, sound and background are handled as one workflow.

Light the screen and the presenter separately

Green screens are forgiving only when they are evenly lit. The aim is a consistent green surface, without bright hotspots, dark corners, wrinkles or hard shadows. It is not about blasting the screen with as much light as possible. Too much light can bounce green spill back onto skin, hair and clothing, making the eventual key harder to clean.

The presenter needs their own lighting setup, shaped for their face and suited to the background. A soft key light, fill where needed and a little separation from the screen usually create a far more convincing result than flat, front-on lighting. The precise approach depends on the person, their complexion, hair, glasses and the mood of the film. A bold, dramatic promotional piece may suit more contrast; a clear instructional video usually benefits from a more open, approachable look.

Distance is your friend. Keeping the presenter a sensible distance from the green backing reduces shadows and reflected green light. It also gives the camera more room to separate the subject from the background. In a compact studio, this is one reason why planned framing is so valuable: it lets the crew use the available space intelligently rather than forcing a wide shot that compromises the key.

Hair deserves particular attention. Fine hair, curls and flyaways can key beautifully, but only with clean exposure and controlled spill. Glasses can work too, although reflections in the lenses need to be managed. A slight adjustment to light position or camera height often solves what looks like a major problem.

Choose wardrobe for the key, not just the brand palette

The obvious rule is not to wear green. The less obvious rule is to avoid highly reflective fabrics, tiny repeating patterns and anything that creates distracting shimmer on camera. Green jewellery, green-tinted spectacles and shiny material can all produce unexpected issues.

That does not mean every presenter has to wear plain navy. Texture and colour are useful on screen, particularly when the final background is restrained. The key is contrast. Choose clothing that separates the presenter from both the green screen and the final scene. If the virtual background is pale and minimal, a pale top may make the person look washed out even though the key itself is technically clean.

Bring a couple of options if practical, then check them through the camera. What looks right in a mirror can behave very differently under studio lights.

Give the presenter something real to respond to

A green-screen session can become stiff when someone is asked to talk to an empty wall while imagining charts, footage and virtual scenery. Good direction replaces guesswork with clear reference points.

Mark the floor so the presenter knows where to stand. If graphics will appear beside them, establish which side they should leave clear and where they should look. For a direct-to-camera message, the lens is the audience. For an interview or a more conversational format, an off-camera eyeline may be more appropriate. Switching between the two without a reason can make a finished edit feel unsettled.

Where possible, use a monitor or a simple visual guide. The presenter does not need to see every final graphic in full detail, but it helps to know the scale and position of the elements they are introducing. If they are referring to three points on a chart, rehearse the gestures. A hand that lands accurately beside a graphic looks deliberate; a vague wave through empty space looks like it belongs nowhere.

Scripts benefit from the same realism. Write for speech, not for a page. Shorter sentences are easier to deliver cleanly, especially when a presenter is also remembering marks, eyelines and graphic cues. A teleprompter can support a tightly scripted piece, but it should be set at a comfortable pace. If the delivery becomes too fixed, the film can lose the warmth that made a human presenter worthwhile in the first place.

Movement is useful, but it raises the bar

A stationary presenter is not automatically boring. Often, a well-composed medium shot with purposeful gestures is the strongest choice. Movement should add meaning: stepping towards a point, turning to introduce a visual, or changing position between sections.

Walking across a green screen creates more variables. The camera may need to track, the lighting must remain even, and the virtual background needs to support that movement. It can look excellent for a larger campaign or a broadcast-style piece, but it may be unnecessary for a concise explainer. The right production choice is the one that serves the message, not the one with the most moving parts.

Capture clean sound before chasing visual tricks

A convincing background cannot rescue poor audio. Viewers will often forgive a simple visual treatment if the voice is close, clear and well controlled. They are much less patient with echo, inconsistent levels, clothing rustle or a microphone that sounds distant.

For presenter filming, microphone choice depends on the format. A discreet lavalier microphone is useful when the frame is wider or the presenter needs to move. A boom microphone can provide a natural, polished sound for seated interviews or more controlled shots. Either way, test before the proper take. Ask the presenter to speak at their real delivery level, not in a quiet soundcheck voice.

Record room tone too. That short capture of the studio’s natural background sound can make editing smoother when lines are tightened or sections are rebuilt. It is a small production habit that saves time later.

Plan the edit around the finished viewing experience

Green-screen production is often discussed as though keying is the main event. A clean key matters, but the finished film is made in the edit. The background needs to match the camera image in colour, contrast, sharpness and depth. If it is too crisp, too bright or too busy, the presenter can feel detached from it.

Build breathing room into the composition. Graphics should support the speaker rather than compete with them. This is especially important for films that may be viewed on a phone, where small captions and dense charts become difficult to read. Captions, titles and lower-thirds need safe positioning so they remain clear across different platforms and aspect ratios.

A multi-camera setup can also add energy without demanding constant movement from the presenter. A wider angle establishes the scene, while a closer angle brings emphasis to key statements. Used with restraint, the edits feel intentional rather than flashy.

Before sign-off, watch the film with sound on and off. With sound on, listen for pace, clarity and moments where the voice needs room. With sound off, check whether the visual hierarchy still makes sense. If a viewer cannot tell where to look, simplify the frame.

The strongest green-screen presenter films do not make viewers admire the technology. They make the message feel clear, confident and present. Give your presenter a well-lit space, a proper sound path and a background that has been designed around their delivery, and the screen behind them becomes exactly what it should be: invisible support for a performance people want to watch.

How to Livestream a Band Without Losing the Live Feel

A great band livestream is not a gig with a phone pointed at the stage. It is a live performance made for people who are listening through headphones, watching on a laptop and deciding within seconds whether to stay. If you are working out how to livestream a band, start with one principle: the audio carries the emotion. Cameras, lighting and chat bring the atmosphere, but poor sound will send viewers elsewhere.

The good news is that you do not need an arena-sized production. You need a sensible plan, a performance-ready room and enough time to test every part before you go live. Get those foundations right and a small set can feel immediate, polished and properly yours.

How to livestream a band: build the show first

Before choosing a platform or camera, decide what the audience is being invited to watch. Is it a full forty-minute set, three new songs for fans, a ticketed album launch, a stripped-back session or a rehearsal-room performance with questions between tracks? The answer shapes the crew, running order, lighting and pace.

A livestream needs its own rhythm. A five-piece band may take a minute to tune between songs in a venue, where the crowd can chat and buy a drink. Online, that silence feels much longer. Plan the gaps. Give the singer a short introduction, have an interviewer ask a question, play a pre-recorded clip, or move cleanly into the next number.

Write a simple running order that includes more than songs: doors open or holding screen, welcome, set times, any audience interaction, breaks, closing words and a clear finish. This also gives your production team useful cues. Everyone should know when the wide shot changes, when the presenter speaks and when a guest joins remotely.

Put audio ahead of everything else

A polished picture cannot rescue a harsh vocal, distorted bass or drum mix that turns to mush on a phone speaker. Treat the stream mix as its own mix, not an afterthought taken from the room PA.

In a controlled live room, each instrument can be captured on separate channels: kick, snare, overheads, bass, guitars, keys, lead vocal and backing vocals. That gives the engineer room to balance the performance for broadcast. Vocals usually need more presence than they would in a loud rehearsal space, while cymbals may need taming and low end needs checking on small speakers.

Headphones or in-ear monitoring are often the cleanest option, especially for a filmed session. They reduce spill into vocal microphones and make it easier to create a focused stream mix. A band that relies on amps and wedges can still sound excellent, but expect more work managing volume, microphone bleed and feedback.

Ask for a short soundcheck, then record a complete song rehearsal. Listen back on studio monitors, headphones and a basic phone. If the vocal remains clear and the kick drum has not swallowed the bass guitar, you are heading in the right direction. Make sure someone watches the stream feed too: a good control-room mix is only useful if it reaches the platform without level problems or audio delay.

Give the engineer (probably me!) a reference point

Bring two or three tracks that sit near the sound you want, rather than asking for a vague ‘live feel’. One band may mean intimate and warm; another may mean loud, compressed and festival-ready. References help the engineer understand vocal placement, drum weight and how polished you want the result to be.

Do not chase perfection at the expense of the performance. Small human moments are part of why people watch a live set. The aim is controlled, musical sound, not a lifeless correction of every rough edge.

Choose cameras that tell the story

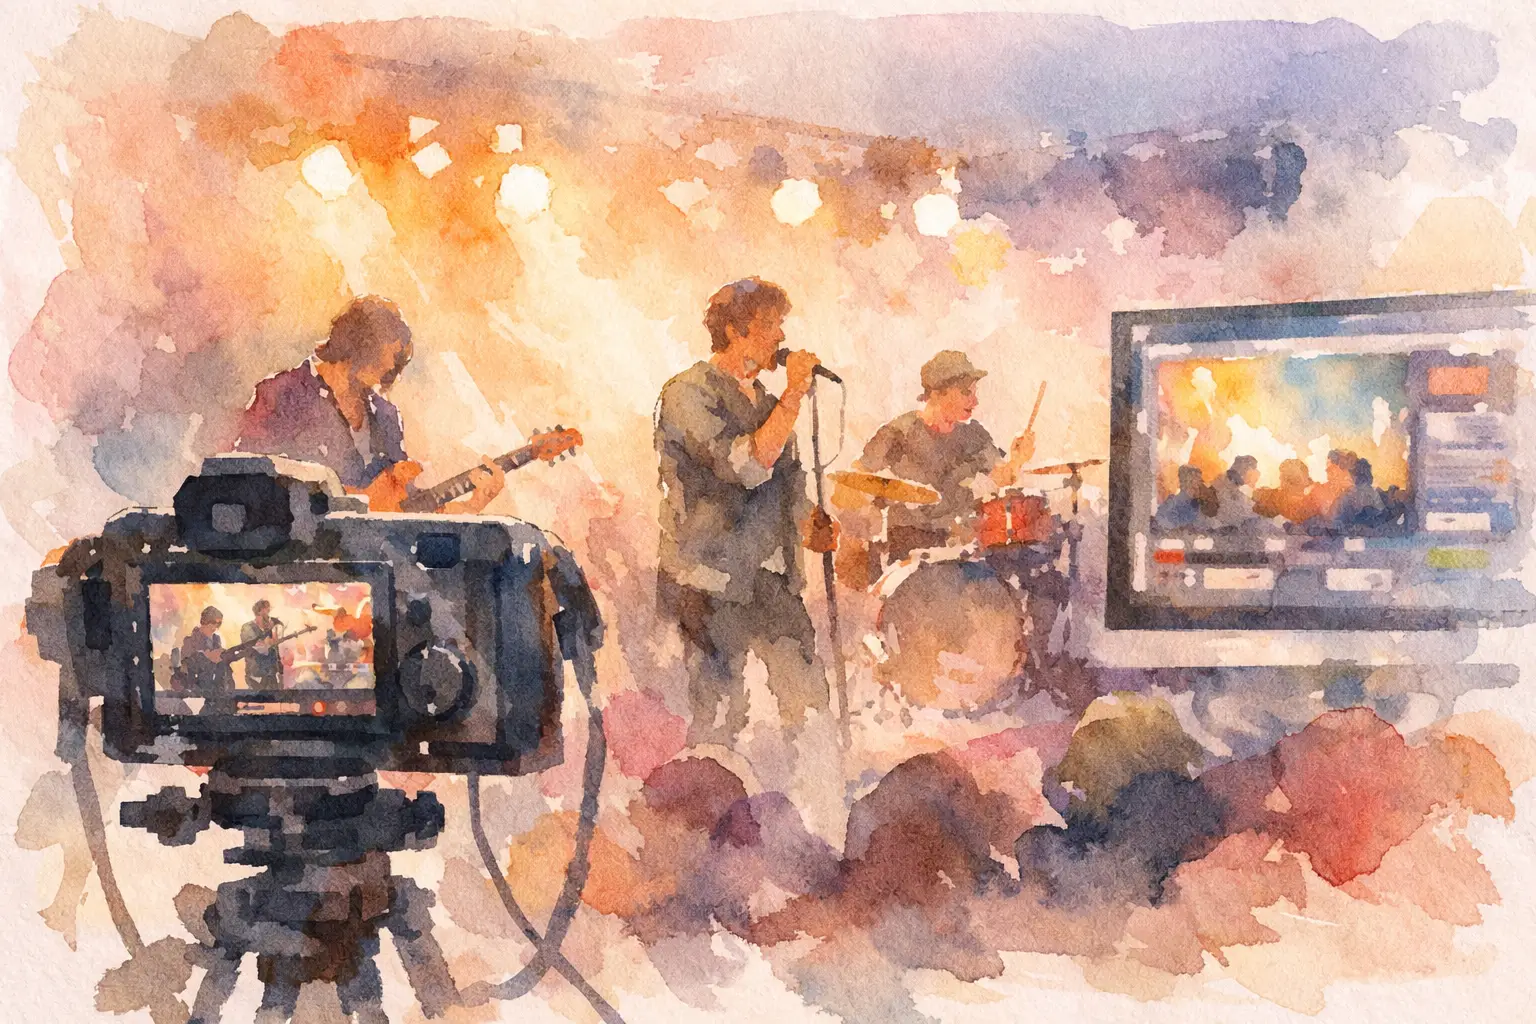
One fixed camera can document a gig. A multi-camera setup can place the viewer inside it. For most bands, three angles give enough variety without creating visual noise: a wide shot for the whole group, a closer angle on the singer or front line, and a roaming or side angle for hands, drums and musical details.

Frame the room before the band arrives. Look for sightlines that avoid mic stands cutting across faces, cables spilling through every shot and a drum kit blocking half the group. Give the camera operator a loose shot list, but leave space to react. The best cut may be the guitarist looking up at the chorus, the drummer counting in, or the singer sharing a glance with the bassist.

Lighting should make faces readable and give the image shape. Soft front light is usually more flattering than a bright overhead wash, while coloured backlighting can add depth without turning everyone blue. Avoid mixing too many colour temperatures. Daylight from a window, warm lamps and cool LED panels can make skin tones difficult to manage unless they are balanced deliberately.

If your budget is tight, spend on clean audio and good lighting before adding extra cameras. One well-framed camera with a confident operator will beat four unattended angles that never change.

Make the technical path boringly reliable

The audience should only notice the band, not the machinery behind the broadcast. That means deciding how sound and vision travel from the room to the platform, then testing the entire chain at the same time.

Your video feeds need to reach a switcher or production computer, where they can be mixed with titles, holding graphics, captions or pre-recorded clips. The broadcast audio should be fed into that system as a matched stereo signal. Check sync carefully. Even a slight gap between a singer’s mouth and their vocal becomes distracting once viewers spot it.

Use a wired internet connection wherever possible. Wi-Fi may be fine for browsing, but a live broadcast needs consistent upload speed rather than an optimistic number on a speed test. Run a private test stream at the time of day you intend to broadcast, from the exact location and with every camera connected. Test for at least fifteen minutes, not merely long enough to see a picture appear.

Have a contingency plan. Keep a local multitrack audio recording and isolated camera recordings if available, so a brief platform failure does not destroy the whole session. Prepare a holding graphic and music-free message in case you need to pause. If your chosen platform supports it, nominate a second person to monitor the public stream from another connection and flag issues in real time.

Rehearse the production, not only the songs

Bands rightly rehearse arrangements, endings and harmonies. The stream also deserves a run-through. Perform at least one song while the production team switches cameras, checks cues and monitors the outgoing feed.

This is where practical problems surface: the lead singer walks out of light, the guitarist’s solo happens on the camera’s blind side, a backing vocal is too quiet, or an intro runs longer than expected. Solve them before viewers arrive. It is much easier to move a lamp or change a camera position in an empty room than when the countdown is running.

Give each person a clear responsibility. Someone needs to call the shots or operate the vision mix; someone needs to own the audio; someone needs to watch the stream health; and someone should moderate audience comments if chat is part of the event. In a small production, one experienced operator may cover several tasks, but they still need a realistic workload.

Treat viewers as guests, not numbers

A livestream can offer something a venue cannot: proximity. Welcome people by name if the format allows it, answer a few questions between songs, explain where a new track came from or show a small part of the setup. Keep it genuine. Constantly asking viewers to comment can feel forced, especially during an emotional set.

Tell people in advance when and where you are broadcasting, what time the set starts and whether it will remain available afterwards. Time zones matter if you have listeners outside the UK. On the day, post a short reminder rather than relying on one announcement made a week earlier.

Be careful with music rights. Your own original material is the simplest route. Covers can trigger platform claims, muted sections or blocked replays, depending on the song and service. If the stream is ticketed, branded or intended for commercial reuse, get clear advice before assuming a familiar cover is harmless.

Keep the recording after the red light goes off

The live broadcast is often only the first version of the project. A properly captured session can become individual song videos, short vertical clips, a live EP, a press asset or material for future bookings. Record clean sources where possible and label the files while everyone still remembers what happened.

That is why a studio-led production can be worth more than a quick social broadcast. At Yougig, the same performance can be approached as a proper multi-camera, multitrack session: a relaxed space to play, experienced hands on the broadcast, and quality footage and audio to work with afterwards.

Leave a little room for the unexpected. A string may break, a camera may need a reset, or the audience may respond so strongly to a song that you want to stay with the moment. Preparation gives you the confidence to handle those things calmly. When the band feels comfortable and the technical team is ready, the screen stops being a barrier and becomes another place to perform.

The Right Band Rehearsal Space In The Brighton area

A good rehearsal should leave your band tighter, not merely louder. Yet it is easy to spend three hours in a room that is too cramped, too harsh-sounding or too fiddly to set up, then head home knowing the songs never really had a chance. Choosing the right band rehearsal space in the Brighton area musicians can rely on is about protecting the useful part of a session: the moment everyone locks in and the set starts to breathe.

For a new group, that may mean an affordable room where you can work out arrangements without watching the clock. For a gigging band, it may mean enough space and volume to run a full set as you intend to play it. If you are preparing to record content, release a live session or audition a new player, the best room is one that supports performance as well as practice.

What a Band Rehearsal Space in Brighton Needs to Deliver

Brighton has no shortage of musical energy, from independent songwriters and electronic producers to loud guitar bands, brass players and vocal-led projects. That variety matters when choosing a room. A space that suits a two-piece writing quietly may not work for a six-piece trying to hear kick drum, bass and vocals at gig level.

Start with the practical question: can every player hear what they need to hear? This is not the same as making everything louder. In a useful live room, the drum kit has room to speak, guitar amps can be positioned sensibly, and vocals do not have to fight their way through a wall of cymbals. Thoughtful room layout and sensible monitoring make rehearsals less fatiguing, which usually leads to better decisions about timing, dynamics and arrangement.

Acoustics are part of that equation. A completely dead room can make a band play cautiously, while an uncontrolled, reflective room can turn detail into mush. The aim is a balanced environment where you can hear whether a chorus genuinely lifts, whether the bass is sitting with the kick, and whether a vocal line is reaching the back of an imagined venue.

Space is equally important. It is tempting to book the smallest room that technically fits everyone, especially when budgets are tight. But a little breathing room changes the atmosphere. Players can move, stands can be placed properly, cables do not become trip hazards, and the band can see each other. For groups built around cues, tight endings or live energy, eye contact is part of the arrangement.

Choose the Room Around the Session

Before booking, decide what success looks like at the end of the day. “We need to rehearse” is a starting point, but it is not yet a brief. Are you learning material, refining a support set, rebuilding after a line-up change or preparing for a filmed performance? Each needs a slightly different approach.

Writing and arranging sessions

When songs are still taking shape, comfort and time often matter more than absolute volume. You need a space that lets people stop, try another key, test a new groove and talk through an ending without feeling rushed. Bring a simple way to capture ideas, even if it is just a mobile phone recording from the middle of the room. Those rough takes are often more useful than memory the following week.

Full-set run-throughs

If a show is approaching, rehearse like the show matters. Run transitions, count-ins, tuning changes, backing-track cues and the awkward twenty seconds between songs that can make a confident band look uncertain on stage. Give yourselves at least one uninterrupted pass through the set. Stopping for every small mistake feels productive, but it can hide problems with stamina, pacing and communication.

A room with a proper PA and appropriate amplification helps here, particularly where lead vocals, harmonies or electronic elements carry the identity of the music. Confirm what is included before you arrive, though. “Backline available” can mean very different things from one venue to another.

Content and pre-production rehearsals

Some rehearsals have a second job: finding a take worth keeping. This is where a production-capable room becomes valuable. If you may want to record a multitrack performance, shoot a live video or livestream a set, the rehearsal should be planned with that possibility in mind. Cable routes, sightlines, lighting and microphone positions all affect how easily the session can become finished content.

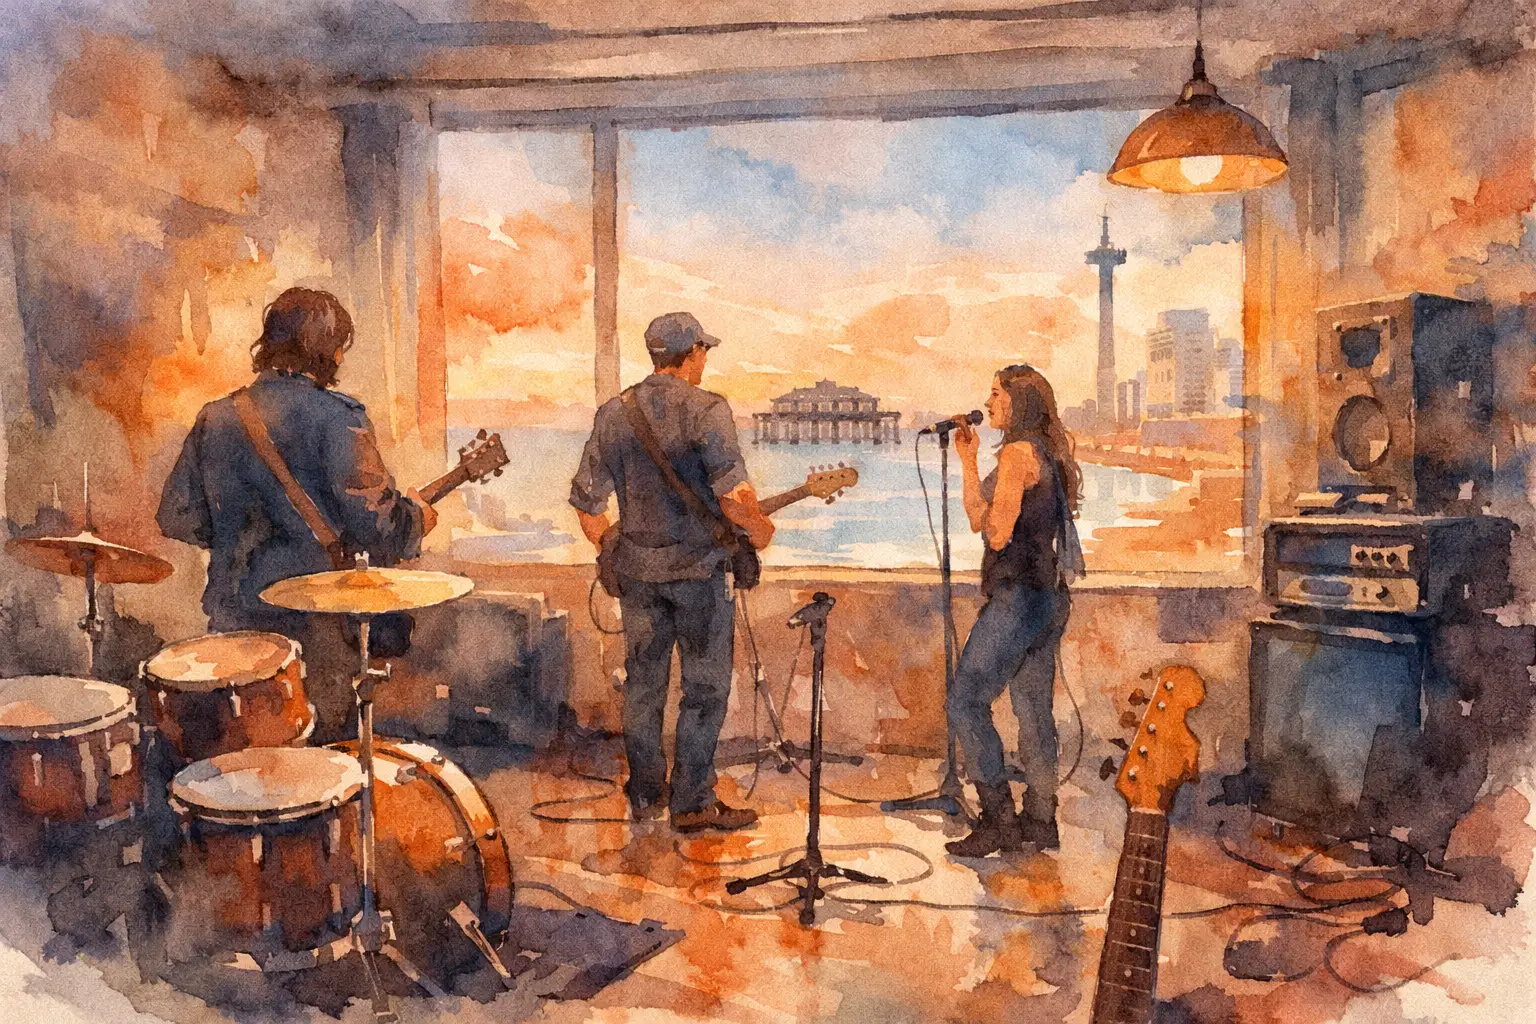
At Yougig, the waterfront setting in Shoreham-by-Sea offers that useful crossover: a large live room for getting loud and settled, alongside recording, multi-camera video and livestream production when the material is ready to travel beyond the rehearsal itself. It is a practical option when a band wants to move from “we think this is working” to a polished live document without rebuilding the whole setup elsewhere.

The Questions Worth Asking Before You Book

The most useful rehearsal spaces are clear about how they work. You should know the access time, permitted rehearsal hours, what equipment is supplied, whether you can bring your own amps and drums, and how the room is shared or isolated from other activity.

Ask about the PA in real terms. How many vocal microphones are available? Are mic stands, leads and monitors included? Can you connect playback from a mobile phone, laptop or interface? If your set uses tracks, in-ear monitoring, samples or keyboards, check the connections rather than assuming they will be there.

It is also worth asking whether setup and pack-down sit within the booking. They usually do, and that is fair, but it should shape how you schedule the session. A three-hour booking is not three hours of playing if six people arrive late, build a complicated rig from scratch and spend the final twenty minutes coiling cables. Arrive with a plan, assign simple jobs, and agree the first song before the drummer has put the hi-hat together.

Noise limits are another sensible conversation. A professional rehearsal environment should allow bands to work at a realistic level while protecting neighbours, staff and everyone’s hearing. The answer may be a sensible volume policy, better amp placement, drum control or ear protection. None of those compromises means sacrificing energy. In fact, a band that learns to create impact without sheer volume tends to sound more controlled on stage and in the studio.

Make Paid Rehearsal Time Count

Rehearsal rooms are at their best when they remove friction, but the band still needs a process. Start with the difficult material rather than warming up for an hour on songs everybody already knows. Record one complete run of the problem section, listen back together, make a specific change, then play it again. Vague feedback such as “it feels off” can be useful emotionally, but it needs translating into something playable: the tempo is dragging, the second guitar is masking the vocal, or the bridge needs a clearer cue.

Agree who has the final call when opinions split. It does not have to be the same person on every subject. A singer may lead lyrical phrasing, a drummer may call a groove issue, and the player handling tracks may own technical cues. Clear ownership keeps creative disagreement productive rather than personal.

Leave ten minutes at the end to capture what changed. Note the final keys, tempos, arrangements and any jobs for next time. If you are preparing for a recording session, list the parts that need tightening and the sounds you want to preserve. This small habit prevents each rehearsal from beginning with a conversation about what happened at the last one.

Think Beyond the Practice Room

The right Brighton-area rehearsal space can be more than somewhere to make noise for an evening. It can be a place to test whether your material works in a real room, get comfortable performing together and create a bridge towards recording or filmed live content when the timing is right.

There is a trade-off, of course. A basic room may be all you need for early writing, while a studio environment can be the smarter use of money when your set is already strong and you want to leave with audio or video that represents it properly. Book for the stage your project is actually at, not the version you feel obliged to present.

When the room is comfortable, the sound is honest and everyone can hear one another, rehearsal stops being a necessary chore between gigs. It becomes the place where a band learns what it sounds like when it means it.