

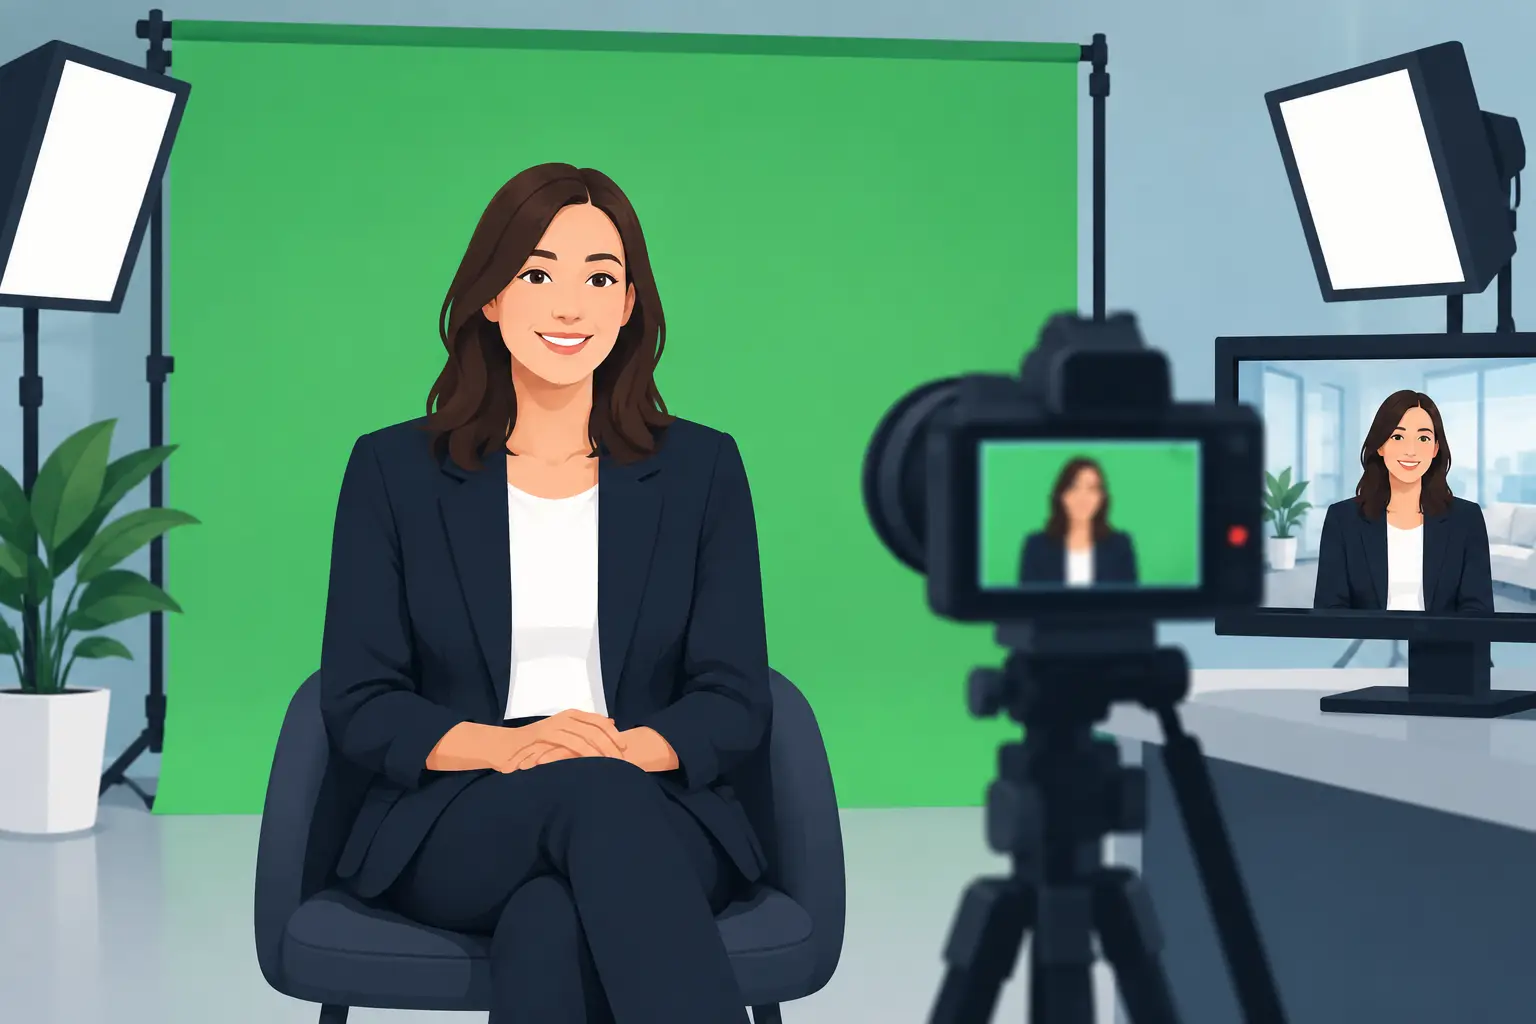
A green screen interview can look like a broadcast from almost anywhere – a newsroom, a branded set, a calm coastal view or a graphic world built around your message. It can also look immediately artificial when the subject has a green glow around their hair, the background is too sharp for the shot, or the sound feels like it was captured in a bare room. This green screen interview guide is about getting the practical decisions right before the edit, so the final video feels considered rather than pasted together.
For interviews with artists, founders, presenters and guests, the aim is not to show off the effect. It is to remove friction between the speaker and the viewer. Good keying gives you freedom in post-production while keeping the person, their voice and their point of view firmly at the centre.
Start with the background, not the green screen
The background determines more than the look of the finished film. It affects wardrobe, camera position, framing, lighting direction and how much movement you can allow in the shot. Choose it early, even if it is a simple placeholder.
A clean branded background works well for an announcement, recruitment video or a short social campaign. A designed set with depth can suit a longer conversation or a presenter piece. If your interview needs to feel grounded in a real location, use a high-quality still or moving plate with the right perspective and lighting. A background shot from slightly above eye level will not sit convincingly behind a seated guest filmed at eye level.
Think about the pace of the content too. Fast-moving graphics may suit a short launch clip, but they can become distracting behind a thoughtful interview. Often, a quieter background gives the editor more room to cut between questions, captions and supporting footage without making the screen feel busy.
Build separation before you light the screen
The most common green screen mistake is placing the guest too close to it. When green light reflects onto skin, hair, shoulders or glasses, it creates spill. Software can reduce spill, but it cannot restore detail that has already been contaminated by the screen colour.
Give the speaker as much distance from the backdrop as the room allows. Around two metres is a useful starting point, though more space is better, especially with long hair, loose clothing or a wider shot. That distance also helps the screen fall slightly out of focus, which can make an uneven surface less obvious.
Light the person and the green screen as separate jobs. The screen needs an even wash of light across the area visible to camera. The subject needs flattering, shaped light that matches the direction and mood of the planned background. Trying to light both with the same fixtures usually leads to either uneven green or a flat-looking face.
A straightforward interview setup often uses a soft key light, a gentler fill where needed and a back or hair light to define the shoulders and hair. The back light should provide separation without creating a bright edge that feels unrelated to the chosen background. If the final setting suggests window light from camera left, shape the interview lighting to support that illusion.
Check the screen with the camera, not just your eyes
A green screen can look evenly lit to the naked eye and still show darker corners or hot patches on camera. Use the actual recording camera to inspect exposure across the frame. Lock exposure and white balance once the setup is working. Automatic settings can shift during an answer, especially if a guest gestures, leans forward or a bright graphic appears on a monitor nearby.
Avoid crushing the green screen into a dark, muddy tone, but do not overexpose it either. The goal is a consistent colour with enough detail for a clean key. A properly lit screen is more valuable than an expensive plugin asked to rescue poor footage.
Wardrobe choices that keep the key clean
The obvious rule is to avoid green clothing, but the useful version is slightly broader. Avoid anything close to the exact hue of the screen, including teal or yellow-green tones that may partially disappear or create awkward transparent edges. Bring a second option if the interviewee is unsure.
Fine stripes, tight checks and high-contrast patterns can shimmer or create moiré on camera. Highly reflective jewellery, glossy glasses and sequinned fabrics can pick up green reflections. None of these items are automatically unusable, but they need testing under the actual lights and at the planned camera distance.
Solid colours generally work well, particularly blues, burgundies, charcoal, warm neutrals and colours that complement the final background. The speaker should not blend into their replacement setting either. If the background is dark, a dark jacket may lose definition. If it is bright and pale, an all-white outfit can feel detached from the scene.
Frame for the edit, not just the conversation
A comfortable interview position is usually an eyeline just to one side of the lens, with the interviewer close enough that the guest does not appear to be looking away. For a direct-to-camera message, the presenter should look into the lens and treat it as one person rather than a large audience.
Leave enough headroom and side room for the intended background, titles and subtitles, but do not make the subject so small that every frame feels distant. A medium close-up is often the most flexible choice: it captures expression, gives room for natural hand movement and remains useful across landscape and vertical edits.
If you need both horizontal and vertical versions, plan for it during the shoot. Recording in a higher resolution can allow a controlled crop later, but it does not fix poor composition. Keep essential gestures and props inside the tighter vertical safe area. A second camera angle can also make an interview feel more natural while giving the editor a clean way to remove pauses, repeated questions and stumbles.
This is where multi-camera recording earns its place. A wider shot establishes body language and space; a closer angle carries the detail of the answer. The two must match in colour, exposure, lens character and eyeline. A cut between mismatched cameras can be more distracting than a single well-composed shot.
Treat sound as half the interview
A beautiful composite cannot carry an interview if the voice is thin, echoing or interrupted by handling noise. Use a microphone suited to the speaker and format. A lavalier mic keeps the frame clean and works well when someone needs to move or demonstrate something. A boom microphone can sound more open and natural, provided it is placed carefully just out of shot.
Record a short test answer rather than relying on a soundcheck of a few words. Ask the guest to speak at the energy they will use in the interview, laugh once, turn their head and make any movements they are likely to make on camera. Listen for clothing rustle, chair creaks, plosives and room reflections.
In a working studio, a calm recording environment and experienced monitoring make a noticeable difference. At Yougig, green-screen sessions can be approached as a complete production – camera, lighting, sound and edit decisions working together rather than separate boxes to tick.
Give the guest a way to relax
Green screen can make people self-conscious because they cannot see the final scene around them. Explain what will replace the screen and show them a reference image before recording. A simple monitor preview can help, but do not let it become a distraction or encourage them to watch themselves while answering.
Keep the set clear, set the chair height before rolling and allow a few minutes for the guest to settle into the conversation. A strong answer rarely arrives on the first line. Start with an easy question, then return to the key question once their voice and posture have found a natural rhythm.
For interviews that need concise answers, ask guests to repeat part of the question in their response. Instead of answering, “About three years,” encourage, “I started producing music about three years ago.” That small adjustment makes the final edit clearer when the interviewer is not heard.
A green screen interview checklist before record
Before the first proper take, confirm these four areas together:
- The green screen is evenly lit, clear of wrinkles and large enough for every planned shot.
- The guest is separated from the screen, wearing tested clothing and framed for all required formats.
- Camera exposure, focus, shutter settings and white balance are locked across every angle.
- The microphone is clean, monitored and free from clothing noise, room echo and interruptions.
Do one final test with real movement. Ask the guest to gesture, lean forward and turn their head as they would naturally. Inspect hair edges, glasses, hands and any object they will hold. It takes a few minutes, and it is far easier than discovering a problem after the guest has left.
The most convincing green screen interview is built on ordinary, careful production choices: a relaxed speaker, clean sound, flattering light and a background chosen with purpose. Give those elements time on the studio floor, and the green screen stops being a special effect. It becomes a practical way to put a good conversation exactly where it needs to be.