

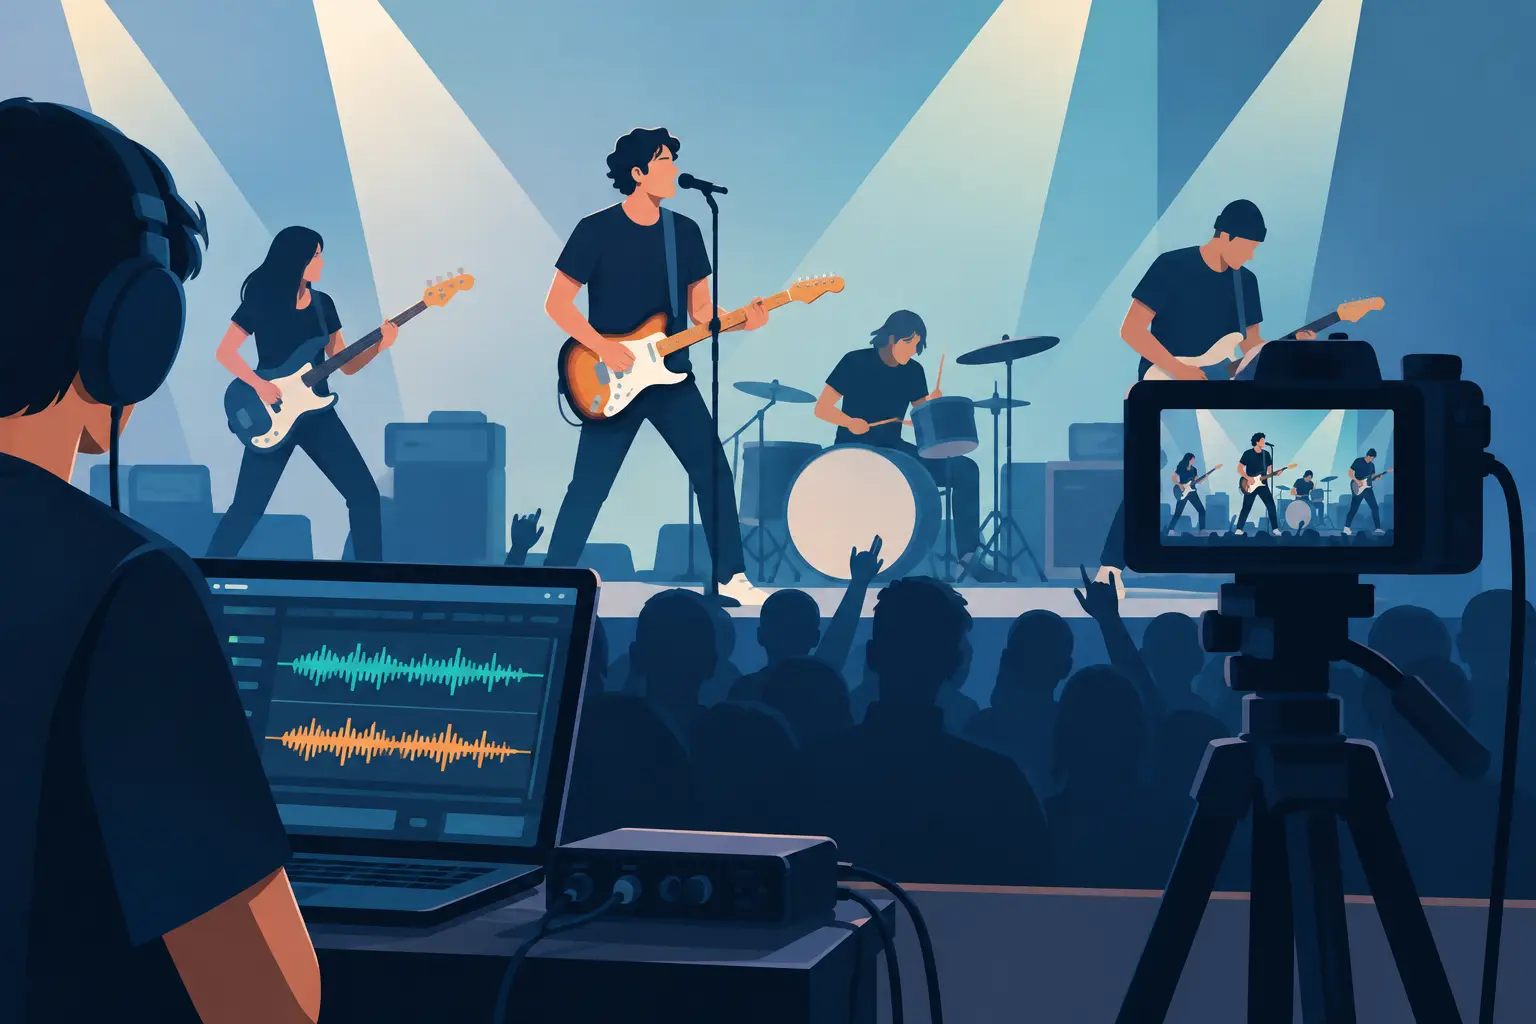
A great band recording is not a row of perfect individual parts. It is the moment the drummer pushes into a chorus, the bass player reacts, the guitarist holds a note a fraction longer and the singer takes the room with them. Knowing how to record live bands means protecting that shared instinct while giving the mix enough control to work later.
For some projects, recording together is the whole point. For others, it is the fastest way to capture a believable foundation before refining a few details. Either way, the session succeeds well before the red light comes on.
Start with the performance, not the microphone list
Ask what the recording needs to be. Is it a release-ready track, a live session video, a polished demo, or a document of a band at its loudest and most connected? Those outcomes call for different choices.
A live-in-the-room recording benefits from a band that knows its arrangements, transitions and endings without needing lengthy discussion between takes. Rehearse the actual version you intend to record, including count-ins, stops and any tempo changes. If a song only works after four attempts at finding the ending, solve that in rehearsal rather than paying to solve it in the studio.
Be honest about what must be captured live. Drums, bass and rhythm guitar often form the core. Lead vocals can be recorded at the same time if the singer is comfortable and the spill suits the sound, but a guide vocal is frequently the more sensible choice. It lets the band play to a real performance while keeping space for a focused vocal take afterwards.
This is not cheating. The aim is to retain the feeling of a band playing together, not to impose rules that make the best take harder to achieve.
Choose a room that lets the band play naturally
A cramped room can make musicians cautious. A room that is too bright or uncontrolled can make cymbals brittle, guitars harsh and every microphone overly aware of the others. The right live room gives players enough separation to hear themselves, enough sightline to communicate, and enough character to make the recording feel physical.
Position the loudest sources first. Drums normally determine the layout, then bass amplification, guitar amplifiers and vocal position. Avoid aiming amps directly at the drum overheads or straight at a vocal microphone. Even a small turn towards a wall, a change in height, or moving an amp away from the kit can make a large difference.
Guitarists do not always need their cabinets beside them. If the room allows, place an amp further away or in a more controlled area and use headphones or a clear monitor mix for communication. The trade-off is that the band may feel slightly less like it is on stage. For a tight, loud rock recording, that extra control is often worthwhile. For an intimate folk or roots session, players facing one another may matter more than isolation.
At Yougig, the value of a properly sized live room is not just volume. It is the ability to rehearse, record and capture video in a setting where the band can settle into a performance rather than feeling boxed into separate booths.
Get separation without making the band sound separated
Complete isolation is rarely necessary, and chasing it at all costs can leave a recording feeling oddly disconnected. What you need is manageable spill: enough control that you can shape instruments later, while preserving the glue created by sound travelling around a room.
Use practical measures before reaching for complicated processing. Keep amp levels lower than players expect. Raise an amp off the floor if low-end build-up is becoming a problem. Use gobos or acoustic screens to block direct paths between loud sources. Put the rear of a cardioid microphone towards the loudest unwanted sound, remembering that microphone placement and polar pattern are part of the recording plan, not an afterthought.
The drummer deserves particular attention. Cymbals dominate rooms and microphones more easily than most drummers realise. A controlled cymbal level, well-tuned kit and confident player will give you more punch and mix options than any plug-in can recover later. If the snare is dull, the kick pedal squeaks or the toms ring uncontrollably, deal with it before the first take.
Build the sound around the overheads
For a natural live-band sound, the overhead microphones are often the picture of the kit. Spend time placing them until the cymbals are balanced, the snare sits in the centre and the kit sounds like one instrument. Close microphones can add weight and definition afterwards, but they should not be the only reason the drums work.
Listen in mono while setting up. Phase problems between overheads, close drum microphones and room microphones can quietly remove punch. Flip polarity where necessary, adjust distance and listen again. Your ears are more useful than a diagram when the room, kit and microphone choice are all changing the result.
Give musicians a headphone mix worth playing to
A bad cue mix can turn excellent musicians into hesitant performers. Each player needs enough of the musical information that affects their timing and confidence. The drummer may want bass and guide vocal. The singer usually needs pitch support and a sense of dynamics. A guitarist might need less of their own amp than they think, and more vocal.
Keep the talkback clear. Make it easy to stop, reset and discuss a section without everyone taking headphones off. Small practical comforts matter too: water within reach, fresh strings, spare drumsticks, chargers out of the way, and a room temperature that does not make the vocalist dread another take.
Do not over-compress the headphone mix in pursuit of a finished-record sound. Players tend to respond better to a clear, punchy balance with a little ambience than to an over-limited wall of sound. If a musician asks for more volume repeatedly, first check whether the mix is cluttered or whether their own source is too loud in the room.
Record enough options, but commit to the important ones
Multitrack recording gives you safety, not an excuse to postpone every decision. Record clean, appropriately levelled signals with headroom. Capture direct inputs from bass or keys when useful alongside amplifiers. Take a sensible room pair if the space sounds good. A guide vocal and occasional safety guitar DI can rescue a small problem without replacing the life of the take.
At the same time, commit to musical choices. Choose the right guitar tone. Tune the snare. Select the tempo that makes the song breathe. A band that hears a convincing sound while tracking plays differently from one asked to imagine how it might sound after days of editing.
If you are recording multi-camera video too, plan it from the beginning. Keep sightlines clean, hide unnecessary cable clutter and agree where performers will stand. Video changes the session: a great audio take may be unusable if a musician walks out of frame at the chorus, while a visually brilliant take may contain a musical slip. Record long takes where possible, then choose the performance that feels most complete across both formats.
Know when to stop chasing perfection
The best take is not always the technically neatest one. A slightly imperfect guitar entry may be inseparable from a vocal that carries real urgency. A drum fill might rush a touch but lift the whole final chorus. Before editing every human edge away, ask whether the listener would experience it as a mistake or as momentum.
That does not mean accepting preventable errors. False starts, poor tuning and distracting timing issues should be addressed. The distinction is musical judgement. Record a few full takes, listen back without instruments in your hands, and make notes about feel as well as accuracy. Musicians often remember the effort of a take more strongly than how it actually sounded.
Save the session properly
Before anyone packs down, label takes clearly, make backups and note any decisions that will matter in the mix. Mark the preferred take, standout sections, possible punch-ins and the microphones or instruments that need attention. If the band has a reference sound in mind, record that in the notes too.
Then listen to one strong take at a sensible volume in the control room. Not to pull it apart, but to make sure the recording has kept the reason everyone came into the room in the first place. When players leave feeling they have genuinely performed rather than merely assembled parts, you are already most of the way to a record people will want to replay.