

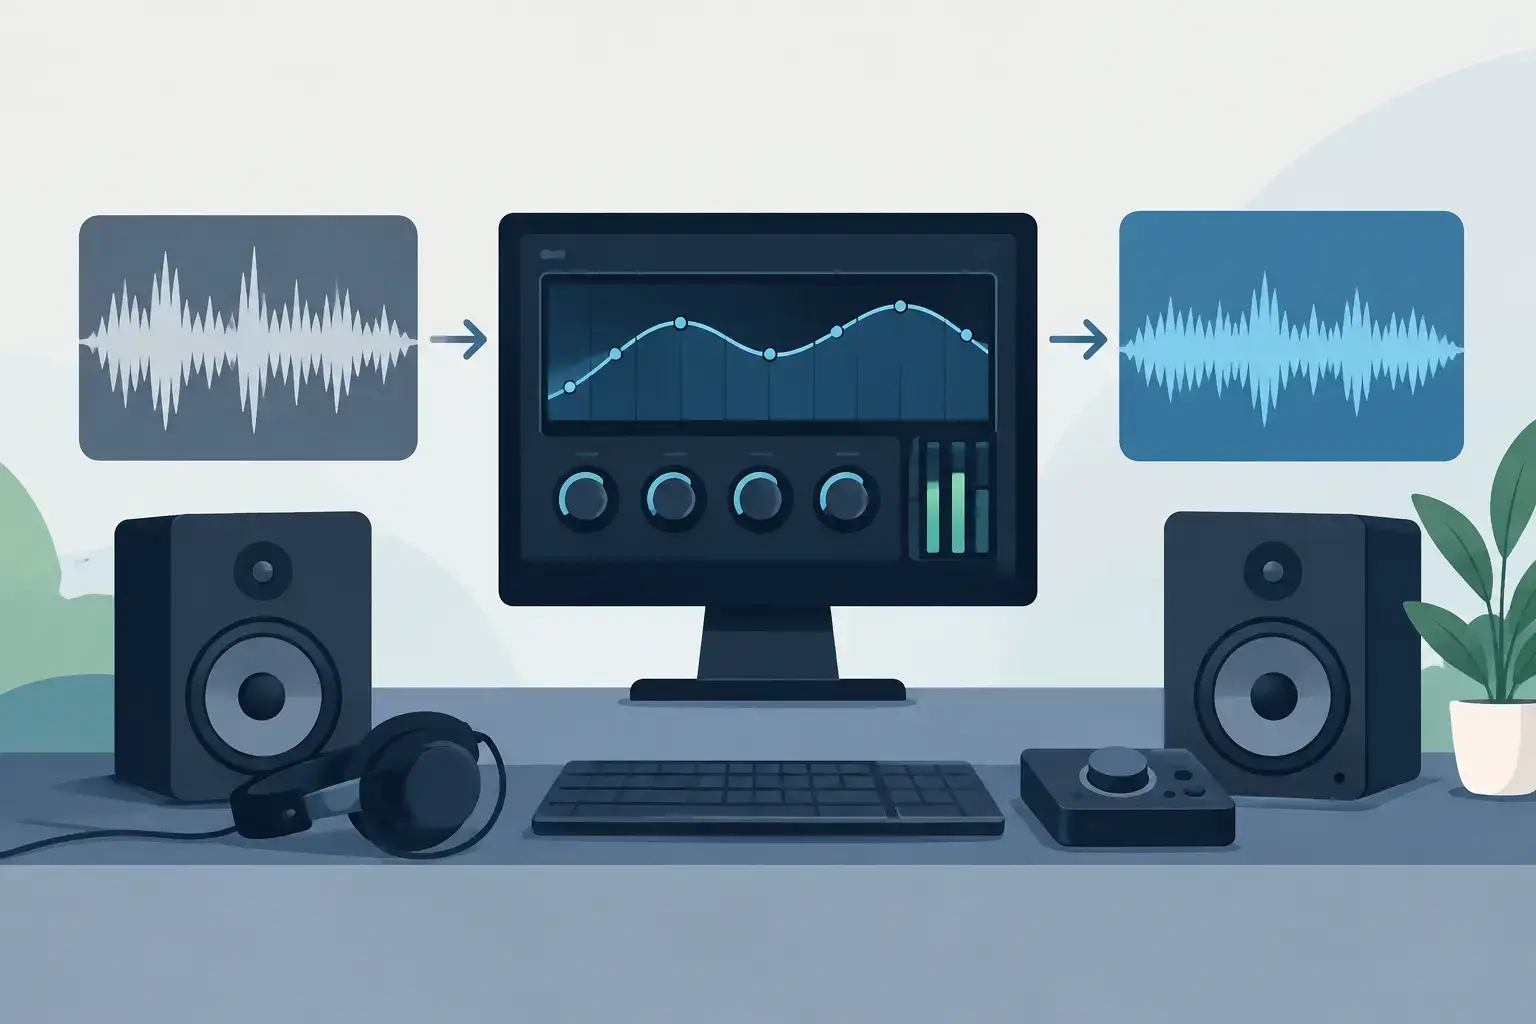
A track can feel huge in the room where it was mixed, then oddly flat on a mobile phone, harsh in the car or woolly through headphones. Audio mastering is the final stage that helps close that gap. It prepares a finished mix for the real places people will hear it, while protecting the character that made the performance worth recording in the first place.
For independent artists, that matters just as much as it does for a major release. You may have tracked a band live, built a beat around a vocal, or spent weeks refining a production at home. Before the music reaches streaming platforms, radio, a CD run or a video soundtrack, it needs a final, objective listen and the right technical finish.
What audio mastering actually does
Mastering works on the final stereo mix, not the individual vocal, guitar, kick drum or synth tracks. A mastering engineer listens to the whole picture and makes considered adjustments to its tonal balance, dynamics, stereo image and overall level. The goal is not simply to make a song louder. It is to make it feel complete, translate reliably and sit confidently beside other professionally released music.
That might mean taming a sharp top end that becomes tiring at volume, adding a little weight where a mix feels thin, or controlling an unpredictable low end that overwhelms smaller speakers. It can also involve subtle compression to bring the track together, limiting to manage peaks, and precise level setting for its intended format.
Good mastering is often hard to point at because it should not announce itself. The vocal should still sound like your vocalist. The distorted guitar should still have its edge. The track should simply hold together better when it leaves the studio.
It is not a repair shop for an unfinished mix
Mastering can improve a strong mix, but it cannot genuinely solve every issue left behind in the mix stage. If the lead vocal is buried, the snare is painfully bright, or the bass disappears whenever the chorus arrives, returning to the mix is usually the better call.
This is not a setback. A useful mastering session can reveal exactly what needs attention before release. Sometimes a small mix revision produces a far better result than trying to force a fix across the whole stereo file. The best workflow leaves room for that conversation rather than treating mastering as a button pressed at the end of the process.
Why translation matters more than loudness
Music is heard everywhere: on studio monitors, kitchen speakers, earbuds, club systems, laptops and cars moving along the seafront. No single playback system tells the whole story. A well-mastered track makes sensible compromises so its core energy, groove and emotion survive each of those situations.
Low frequencies are a common example. A mix may feel satisfyingly deep on large monitors but lose its bassline on a small speaker. The answer is not always more bass. Often, it is about shaping the relationship between the sub-bass, bass guitar or synth and the frequencies that allow the part to be perceived on modest systems.
Loudness has a similar trade-off. More limiting can create impact and density, particularly in certain electronic, rap or rock productions. Push it too far and transients disappear, cymbals turn brittle and a track becomes tiring long before the final chorus. Streaming services also use loudness normalisation to varying degrees, so an aggressively loud master may simply be turned down without regaining the punch that was lost.
The right level depends on the song. An intimate acoustic vocal needs different treatment from a high-energy drum and bass track. Mastering should serve the arrangement and genre, not chase a single number.
Preparing your mix for mastering
The quality of the master starts with the file supplied. Export the final mix at the same sample rate and bit depth used for the session where possible, ideally as a high-resolution WAV or AIFF. Avoid converting repeatedly between formats, and do not send an MP3 as the only source unless it is an unavoidable archive situation.
Leave sensible headroom and avoid clipping on the master output. There is no need to make the mix as loud as possible before it reaches mastering. In fact, a limiter placed purely to raise volume can make the engineer’s work harder. If that limiter is part of the sound – perhaps it adds a deliberate pump or crunch – provide a version with it and, if possible, an unprocessed alternative for comparison.
It also helps to share reference tracks. These are not instructions to copy another artist’s release; they are a way to communicate feel. You might like the dryness of a vocal, the warmth of the low end, the width of a chorus or the restrained dynamics of a particular record. A clear note about what you respond to is more useful than saying, “Make it sound professional.”
For an EP or album, deliver all tracks together with the intended running order. Mastering a project as a sequence allows the level, tonal character and gaps between songs to feel deliberate. One track may need to hit hard after a quiet introduction; another may need a little more space before it begins. Those decisions shape the listener’s experience.
The decisions behind a release-ready master
Tone, dynamics and stereo width
Equalisation in mastering is often subtle, sometimes just a fraction of a decibel. Yet small broad changes can alter the impression of an entire song. A little less low-mid build-up can reveal detail; a controlled lift in the upper range can add air without making the vocal sibilant.
Dynamics processing is equally nuanced. Compression can add cohesion, while limiting catches peaks and establishes the final ceiling. Neither should flatten the musical movement that gives a performance life. If a live band builds from a quiet verse into a full chorus, that lift should still be felt.
Stereo work needs care too. A wider image can make a production feel expansive, but pushing width indiscriminately may weaken the centre or cause problems when played in mono. Keeping crucial low-frequency content stable and central is often a sensible starting point, especially for music intended to work across many systems.
Formats, versions and practical delivery
A master for streaming is not always identical to one prepared for a vinyl cut, broadcast use or a video edit. Vinyl brings physical limits around low-end width, excessive sibilance and very loud high-frequency material. Broadcast and branded content may have specified loudness standards. A performance film may need a version shaped around dialogue, room sound or the pace of the edit.
It is worth discussing where the music is going before the work begins. You may need a high-resolution archive master, a distribution-ready WAV, clean and explicit versions, instrumental and backing-track masters, or alternate edits for social clips. Planning these versions early keeps the release process calmer and avoids recreating work at the last minute.
When a fresh pair of ears changes everything
After hours inside a session, your ears adapt. The hi-hat that felt exciting at lunchtime can feel relentless by evening. The bass that seemed massive yesterday may now be masking the kick. That is normal, not a lack of ability.
A mastering session brings distance and a controlled listening environment to the final decision. It is also a chance to ask practical questions: does the opening grab attention, does the vocal read clearly at low volume, and does the final file support the way the release will actually be used?
At Yougig, audio mastering can sit naturally alongside recording, mixing and video production, with the benefit of knowing how a track may move from a live room performance to a multi-camera session, a finished release or a broadcast-ready asset. But the principle remains simple wherever you work: leave enough time at the end of the project for careful listening.
The final master should not make your music sound like somebody else’s. It should let the choices you made travel further – from the speakers in the studio to the listener who presses play on a wet train platform, a late-night drive or a packed room.