

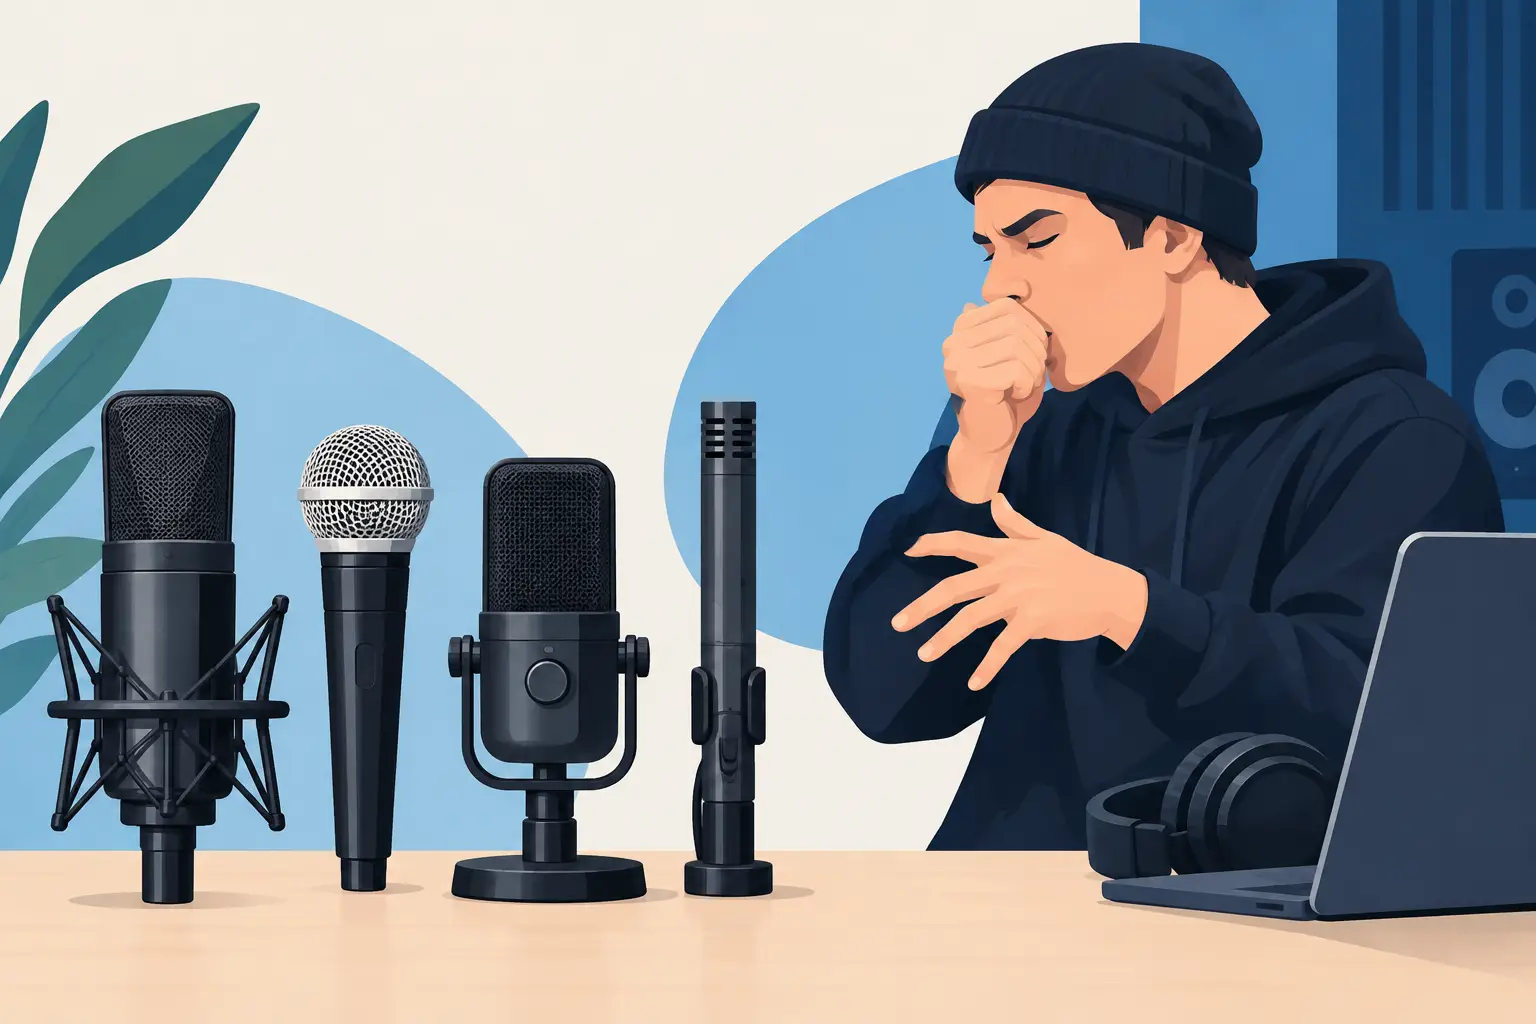
A beatbox take can move from a chesty sub kick to a sharp inward snare in a fraction of a second. That range is exactly why the best microphones for beatbox recording are not simply the most expensive ones. The right choice needs to take high sound pressure, fast transients, breath noise and close-up performance in its stride, while still giving you a sound you can shape confidently in the mix.
For most artists, the aim is not clinical perfection. It is a recording that feels physical, controlled and alive – one that carries the detail of the mouth work without turning every pop, lip smack and movement into a problem. Your room, performance style and whether the recording is for a track, a live video or a loop-based session all matter as much as the microphone itself.
What a beatbox microphone has to handle
Beatboxing places unusual demands on a vocal microphone. Plosive-heavy bass sounds create powerful bursts of air, while hi-hats and snares contain bright, quick detail that can become brittle if the top end is too aggressive. Add proximity effect – the bass lift that happens when you work very close to a directional microphone – and you can quickly end up with either a thin take or an overblown low end.
A useful beatbox mic should handle high SPLs without folding under pressure. It should also have a predictable response when you work close, because distance is part of the performance. Many beatbox artists naturally cup, angle or pull away from the mic to control their tone. A microphone that changes character wildly with small movements can make that expressive approach harder to capture.
The room matters too. In a treated recording space, a more sensitive microphone can reveal impressive detail. In a bedroom, rehearsal room or live setting with spill, a less sensitive option often gives a cleaner result simply because it hears less of everything around you.
The best microphones for beatbox recording: choose by session
There is no single winner for every mouth, track or stage. Think in terms of microphone types and the job in front of you.
Dynamic vocal microphones for punch and control
A quality dynamic vocal microphone is the most reliable starting point for beatbox recording. These microphones are built to cope with close vocals and loud sources, typically have a directional pickup pattern, and tend to take the edge off an overly bright room. Their lower sensitivity can be a real advantage when you are recording near equipment, traffic, rehearsal spill or other performers.
For bass-forward beatboxing, a dynamic mic gives you a practical balance of weight and control. You can work close for body, then ease back slightly for louder kicks. It is also the sensible choice for live performance capture, where handling noise, monitor spill and movement are part of the deal.
The trade-off is that a dynamic microphone may not reproduce the finest high-frequency textures as openly as a good condenser. If your style relies on delicate clicks, whispered textures or ultra-fast hi-hat patterns, you may want to add a second microphone rather than force one source to do every job.
Large-diaphragm condensers for detail in a treated room
A large-diaphragm condenser can make beatboxing sound startlingly close and three-dimensional. It is well suited to a controlled studio recording where you want nuanced layers, vocal phrases and detailed percussion from one performance. It can be particularly effective for a track that blends singing, rap and beatbox rather than treating the beatbox as a purely percussive element.
However, sensitivity brings responsibility. Condensers pick up mouth noise, headphone bleed, chair creaks and reflections from untreated walls. Their extended top end can make cymbal-like sounds exciting, but may also exaggerate harsh sibilance. Use a pop shield, stay disciplined with distance, and do not assume that more detail is always more musical.
If you choose this route, start with the microphone slightly off-axis rather than directly in front of the mouth. A small angle helps soften air blasts while preserving articulation. Recording a short test – bass, snare, hats and your loudest pattern – before committing to a full take will save time later.
Broadcast-style dynamics for close, intimate takes
Broadcast-style dynamic microphones sit between the rugged live vocal option and the high-detail condenser approach. They are designed for close speech, often with a fuller low-mid character and strong rejection of room sound. That makes them a strong fit for beatbox artists recording content, freestyle sessions, tutorials or vocal-and-beatbox performances in less-than-perfect acoustic spaces.
They can sound wonderfully substantial, but placement is crucial. At very close range, some will produce more low end than the arrangement needs. A small high-pass filter during recording or mixing can tidy rumble without stripping the performance of its punch. Keep the filter gentle at first. Beatbox low end is part of the instrument, not a fault to be removed by default.
Small-diaphragm condensers for texture and stereo work
Small-diaphragm condensers are not usually the first microphone you put in front of a beatboxer, but they can be excellent support mics. Their fast transient response can capture hats, tongue clicks and the sharp attack of snares with impressive accuracy. In a well-treated live room, one can be placed at a little distance to capture a more natural sense of space alongside a close dynamic microphone.
This is a more advanced setup, because phase matters. If the close and room microphones are not aligned well, the low end can lose impact when both channels are combined. Record a quick test, listen in mono, and move the distant mic before reaching for corrective processing.
Placement is half the sound
A well-chosen microphone can still sound wrong when it is placed like an ordinary vocal mic. Begin around 10 to 15 centimetres away, with the capsule just to one side of centre. This reduces direct blasts of air while retaining low-end energy. From there, make changes with purpose: closer for more weight, further back for a more balanced tone, and more off-axis when plosives are taking over.
A pop shield is worth using even with a dynamic microphone. It does not just protect against obvious popping on spoken words. It creates a consistent distance reference, helping you perform with repeatable mic technique. For extreme bass sounds, an additional layer of wind protection can be useful, but avoid so much foam that the upper detail becomes dull.
Do not grip the grille or cup the microphone unless that is an intentional part of your live sound. Covering ports on a directional microphone can alter its pickup pattern and make the recording boomy, boxy or prone to feedback. If you want that compressed, enclosed character, capture it deliberately as an alternate take rather than making it your only option.
Gain staging without flattening the performance
Beatbox recordings need headroom. Set the preamp for the loudest sounds you can make, not for the opening pattern you happen to perform during the soundcheck. Digital clipping is unforgiving, and a clipped inward snare cannot be repaired convincingly afterwards.
Aim for peaks that leave comfortable room below the maximum level. The exact number matters less than avoiding red lights while retaining a healthy recording level. If your interface or preamp has a pad, use it when the source is genuinely overloading the input. Do not use it automatically: too much attenuation can leave you compensating with noise later.
Compression is best treated as performance support, not a rescue tool. Gentle compression while recording can be useful if you know the chain well, but many artists are better served by recording clean and shaping dynamics during the mix. A beatbox part often needs fast control on occasional spikes, yet it also needs the transient snap that makes the rhythm feel human.
A practical two-mic approach
When a production needs both chest-shaking lows and precise high detail, a two-microphone setup can give you more options. Use a close dynamic or broadcast-style microphone as the main source, then place a condenser slightly further back and above mouth level to collect texture and air. The close channel supplies impact; the second channel can be blended quietly until the performance opens up.
Keep the secondary mic subtle. If listeners notice a separate bright layer rather than a fuller performance, it is probably too loud. Check phase in mono before you start editing, and commit to one main microphone if the pair is not improving the sound.
At Yougig, a proper soundcheck in the live room can establish this quickly: a few performance-level patterns, a listen through the monitoring chain, then small changes to angle, distance and gain before the real take begins. It is a calmer way to work than trying to fix every issue after the session.
Buy for your real workflow
If you record rough ideas at home, rehearse loudly and film live clips, choose a dependable dynamic microphone first. It will cope with imperfect acoustics and travel well from rehearsal to stage. If you mainly build polished releases in a treated studio and your style contains a lot of fine vocal texture, a condenser may earn its place. For creator-led video and close, spoken-to-camera beatbox content, a broadcast-style dynamic offers a particularly useful middle ground.
The best choice is the microphone that lets you perform without second-guessing every kick and snare. Get the source comfortable, leave enough headroom, and make the room work for the rhythm. The character of your beatbox should arrive at the listener before they ever start thinking about the equipment.